/images/logo.png
A Network Blog by a Network Engineer

Juniper NXTWORK 2019 Recap

The other week month I was able to attend Juniper NXTWORK 2019 in Las Vegas, NV. If you are unfamiliar with Juniper NXTWORK, it is the Juniper customer and partner conference that is held all over the world.

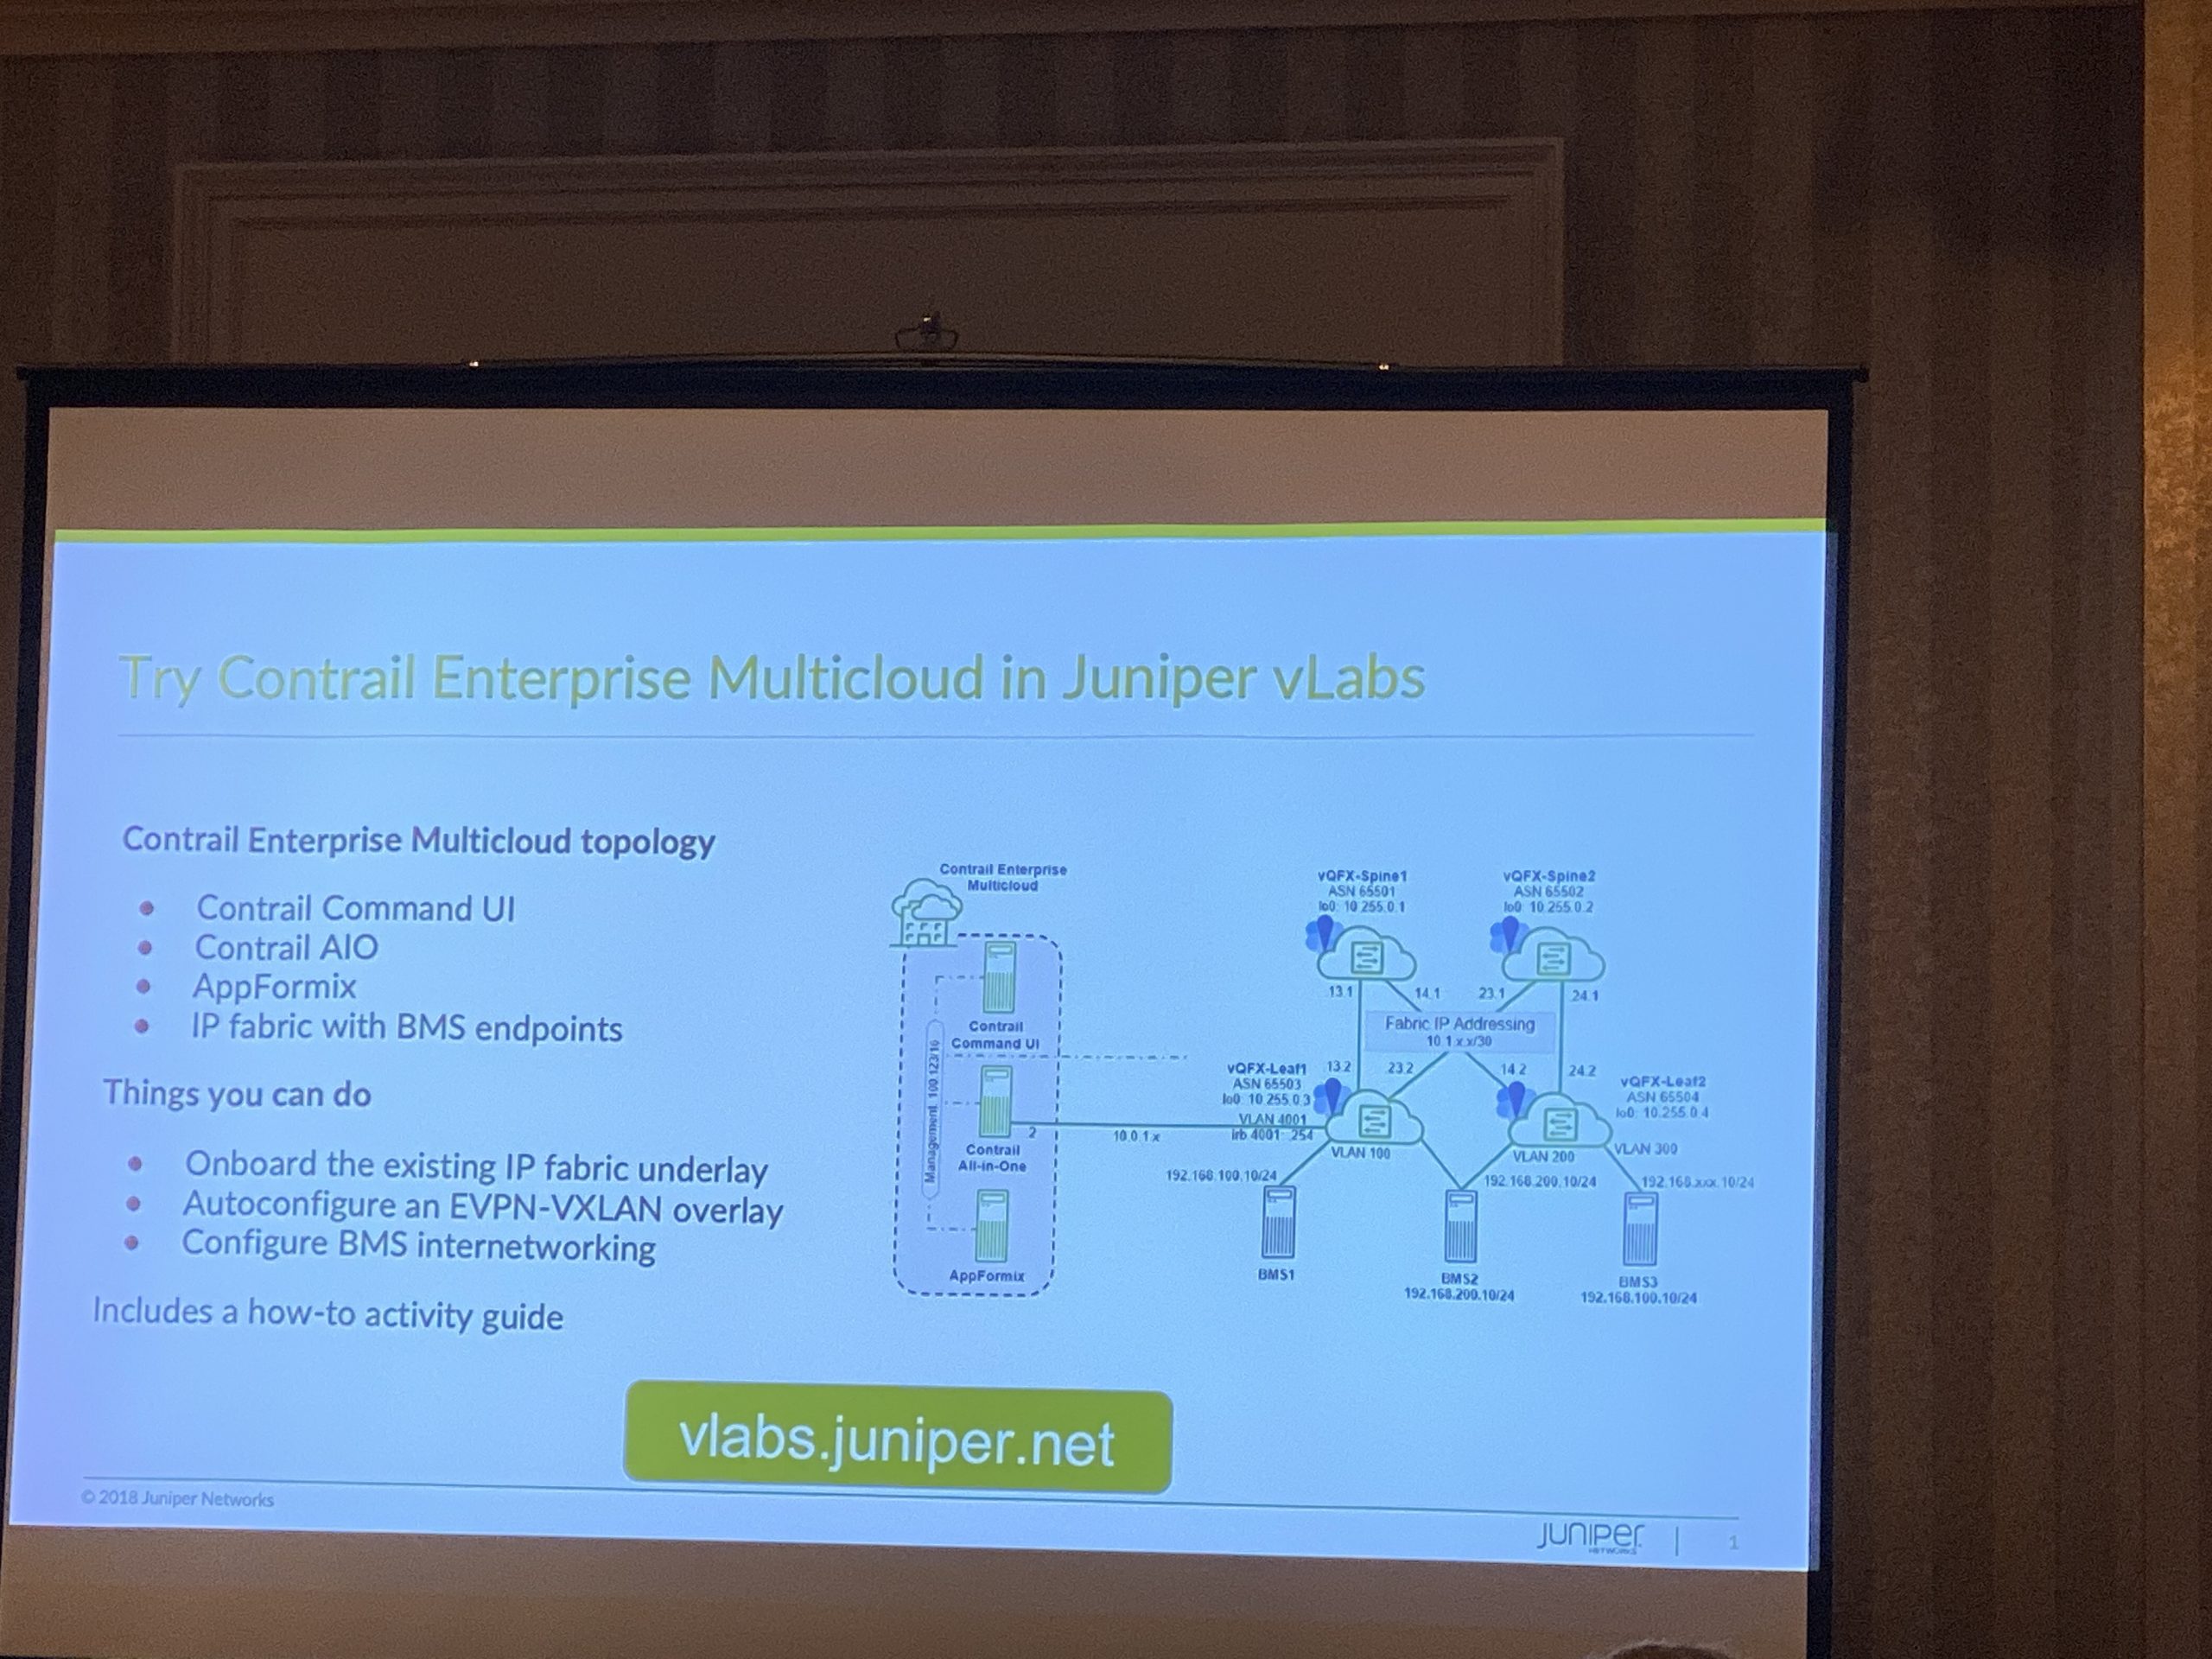
This year they offered the traditional JNCIE Lab testing prior to the event as well as a 1.5-day Contrail training session. Since I was not taking a lab this year, I figured I would take the Contrail training class and see what it is all about. It was a nice introduction of Contrail v19 ( they changed the versioning to the year ). I may try to do another post on that later.

I also attended the Hack-A-Thon again this year, and that was a great experience. What I like about Juniper’s Hack-a-Thons is that they focus more on the hacking/security then they do on Juniper products per se. They approach it from a way to learn about security, how to look for things, and what you can do to protect your network. I will try to write more on the Hack-a-Thon in another post.

Junos VRRP with Tracking

VRRP

Virtual Router Redundancy Protocol (VRRP) is commonly deployed on corporate networks in order to maintain default gateway redundancy for hosts. In this post, I will show you the commands to configure VRRP with route-tracking and interface-tracking.

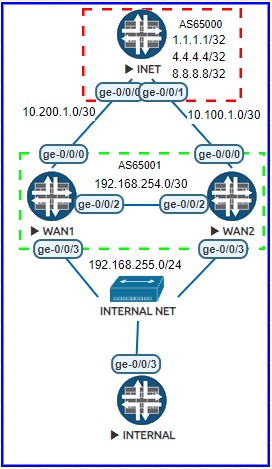
For this lab, I will be using EVE-NG with four vSRX running 12.1X47-D15.4 code in packet-mode. I am using this version as it has the same features as newer codes, yet is less impactful on my lab hardware. The diagram for this lab is below, you can find the starting and ending configs at my GitHub repository. The root password for the devices is juniper123. BGP has been configured between INET and WAN1/WAN2 and is passing a default (0/0) route.

First up we will configure our VRRP on WAN1 and WAN2 using the virtual IP of 192.168.255.1. To configure VRRP there are a few things we need to remember in Junos.

  • The VRRP group on both routers has to match
  • In order to ping, you need to configure accept-data
  • VRRP is configured under the interface IP address
  • Higher priority is the preferred master
  • Preempt is required if you want to allow for the backup to take over

Junos – Loading Configs – 5 of 5 – Set

This is the fifth post in the Loading Configs series. In this post, we will cover the load set command. This allows you to enter commands into the buffer just like you would on the CLI. All these commands are either set or delete based commands. Yes, you can use this to delete as well.

Here is a quick refresher on what we are doing…

NXTWORK 2019 – It’s that time!

It’s that time – time for Juniper NXTWORK 2019 in Las Vegas, NV at Ceasars Palace!

Few quick things to know before you go:

(Update on registration)
The Registration Desk is located on the 2nd Floor, Promenade Level.

The IOS and Andriod NXTWORK 2019 app have been published and are available for download. You can also search for the app by entering NXTWORK 2019 Americas. When you first launch it you will need to log in with your e-mail and then you can either use the default password of NXTWORK, or just reset your password ( that is what I did ).

Junos – Loading configs – 4 of 5 – Update

This is the fourth post in the Loading Configs series. In this post, we will cover the load update command. We touched on this in post one when we discussed override. This command, update, is less destructive as it will update the configuration, yet the Junos device will only evaluate the differences between the running and what you have staged.

Here is a quick refresher on what we are doing…

For this lab series, we will use a simple topology to demonstrate the different ways to load configs. We have our SRX configured with TRUST and UNTRUST zones, a connection to the Internet, and a Windows 7 PC that has a browser installed. We will focus on making changes to our security policies.

This image has an empty alt attribute; its file name is Diagram_r1.jpg

Junos – Loading Configs – 3 of 5 – Replace

This is the third post in the Loading Configs series. In this post, we will cover the load replace command. This command shines when you want to replace parts of a configuration without having to delete a bunch of stuff. It is really powerful in security policies and firewall filters, places where you tend to want to replace a lot of configs quickly.

Junos – Loading Configs – 2 of 5 – Patch

This is the second post in the Loading Configs series. In this post, we will cover the load patch command. The beauty of the load patch command is that you can load the config on one device, issue a show | compare, and take that output and patch another device. This is also useful when you want to test your commands for a change, roll it back, and then re-apply it later.

Here is a quick refresher on what we are doing…

For this lab series, we will use a simple topology to demonstrate the different ways to load configs. We have our SRX configured with TRUST and UNTRUST zones, a connection to the Internet, and a Windows 7 PC that has a browser installed. We will focus on making changes to our security policies.

This image has an empty alt attribute; its file name is Diagram_r1.jpg

Junos – Loading Configs – 1 of 5 – Merge

In this post series, we will cover one of the wonderful things with Junos, which is loading configurations to the devices. Compared to other vendors where you paste into a live configuration, Junus uses a candidate configuration for all changes. A great benefit of this is that there are a few ways to load configurations onto the devices.

The ways we can load the configurations are shown below.

  factory-default      Override existing configuration with factory default
  merge                Merge contents with existing configuration
  override             Override existing configuration
  patch                Load patch file into configuration
  replace              Replace configuration data
  set                  Execute set of commands on existing configuration
  update               Update existing configuration

I want to briefly touch on a few of the commands.

The first command, factory-default, is a way to soft reset the configuration back to the factory configuration without losing any of the locally stored data. The alternate way is factory default the configuration is to use the request system zeroize command. The zerioze command will rest the device back to the factory configuration and remove all locally stored user data (logs, files, etc).

The second command, override, will discard the current configuration and replace it with what you load into the device. When doing this the Junos device will re-evaluate the entire configuration you have entered. By re-evaluating the config, it will treat everything like it is new and you will have an impact to the device. If you want to just update the config and not re-evaluate everything, then you would use load update, which we will cover in post 4.

For this post, we will cover merge, patch, replace, update, and set.

Junos Policy Based VPNs – Part 4 of 4 – Recap

I figured I would take a moment and recap theses past few posts and talk about the different methods now that we understand what they are. I also want to talk about some of the things to consider when choosing your approach.

Policy-Based with Security Policies

In our first post, we covered using security policies to establish and pass the traffic over the tunnel. There are a few challenges with this type of configuration is that you need to be keenly aware of.

You need to keep in mind that the order of security policies is critical. If you have a policy that permits or denies this traffic before the policy that says to tunnel the traffic, you will never send the traffic over the tunnel. Also, new security policies are always placed at the end of the current policies, so when you add a new VPN, you will need to remember to insert the new policy in the proper location.

Junos Policy Based VPNs – Part 3 of 4 – Traffic-Selector

This is the third and final post in the Policy-Based VPN series. In our first post, we configured a policy-based VPN using security policies tied to the UNTRUST interface. In our second post we used IPSec proxy-ids to define the tunneled traffic. This post will be covering the preferred method of Juniper policy-based VPNs, traffic-selectors.

The first part of this post is the setup of the labs, just like we did in the last post. If you want, you can skip down to where we delete the old configuration to see how the new configuration is done.

To recap, there are four different VPN configurations in this series: